Wyld Stallyns Bag & Block Print
Back when I was an art student, I took an elective Fibers class my senior year, and since I am who I am, I couldn't not do projects based off my special interests. This project was for the printing and embroidery section of the class - we designed a repeating pattern, carved a block of it, then printed the pattern onto fabric, and had to embellish with embroidery. The fact that I did this for a class means I actually remembered to take WIP photos for once -- you'd think that'd be a lesson that sticks with you, but apparently I can only remember when I'm getting a grade on it 😔
The Block Print
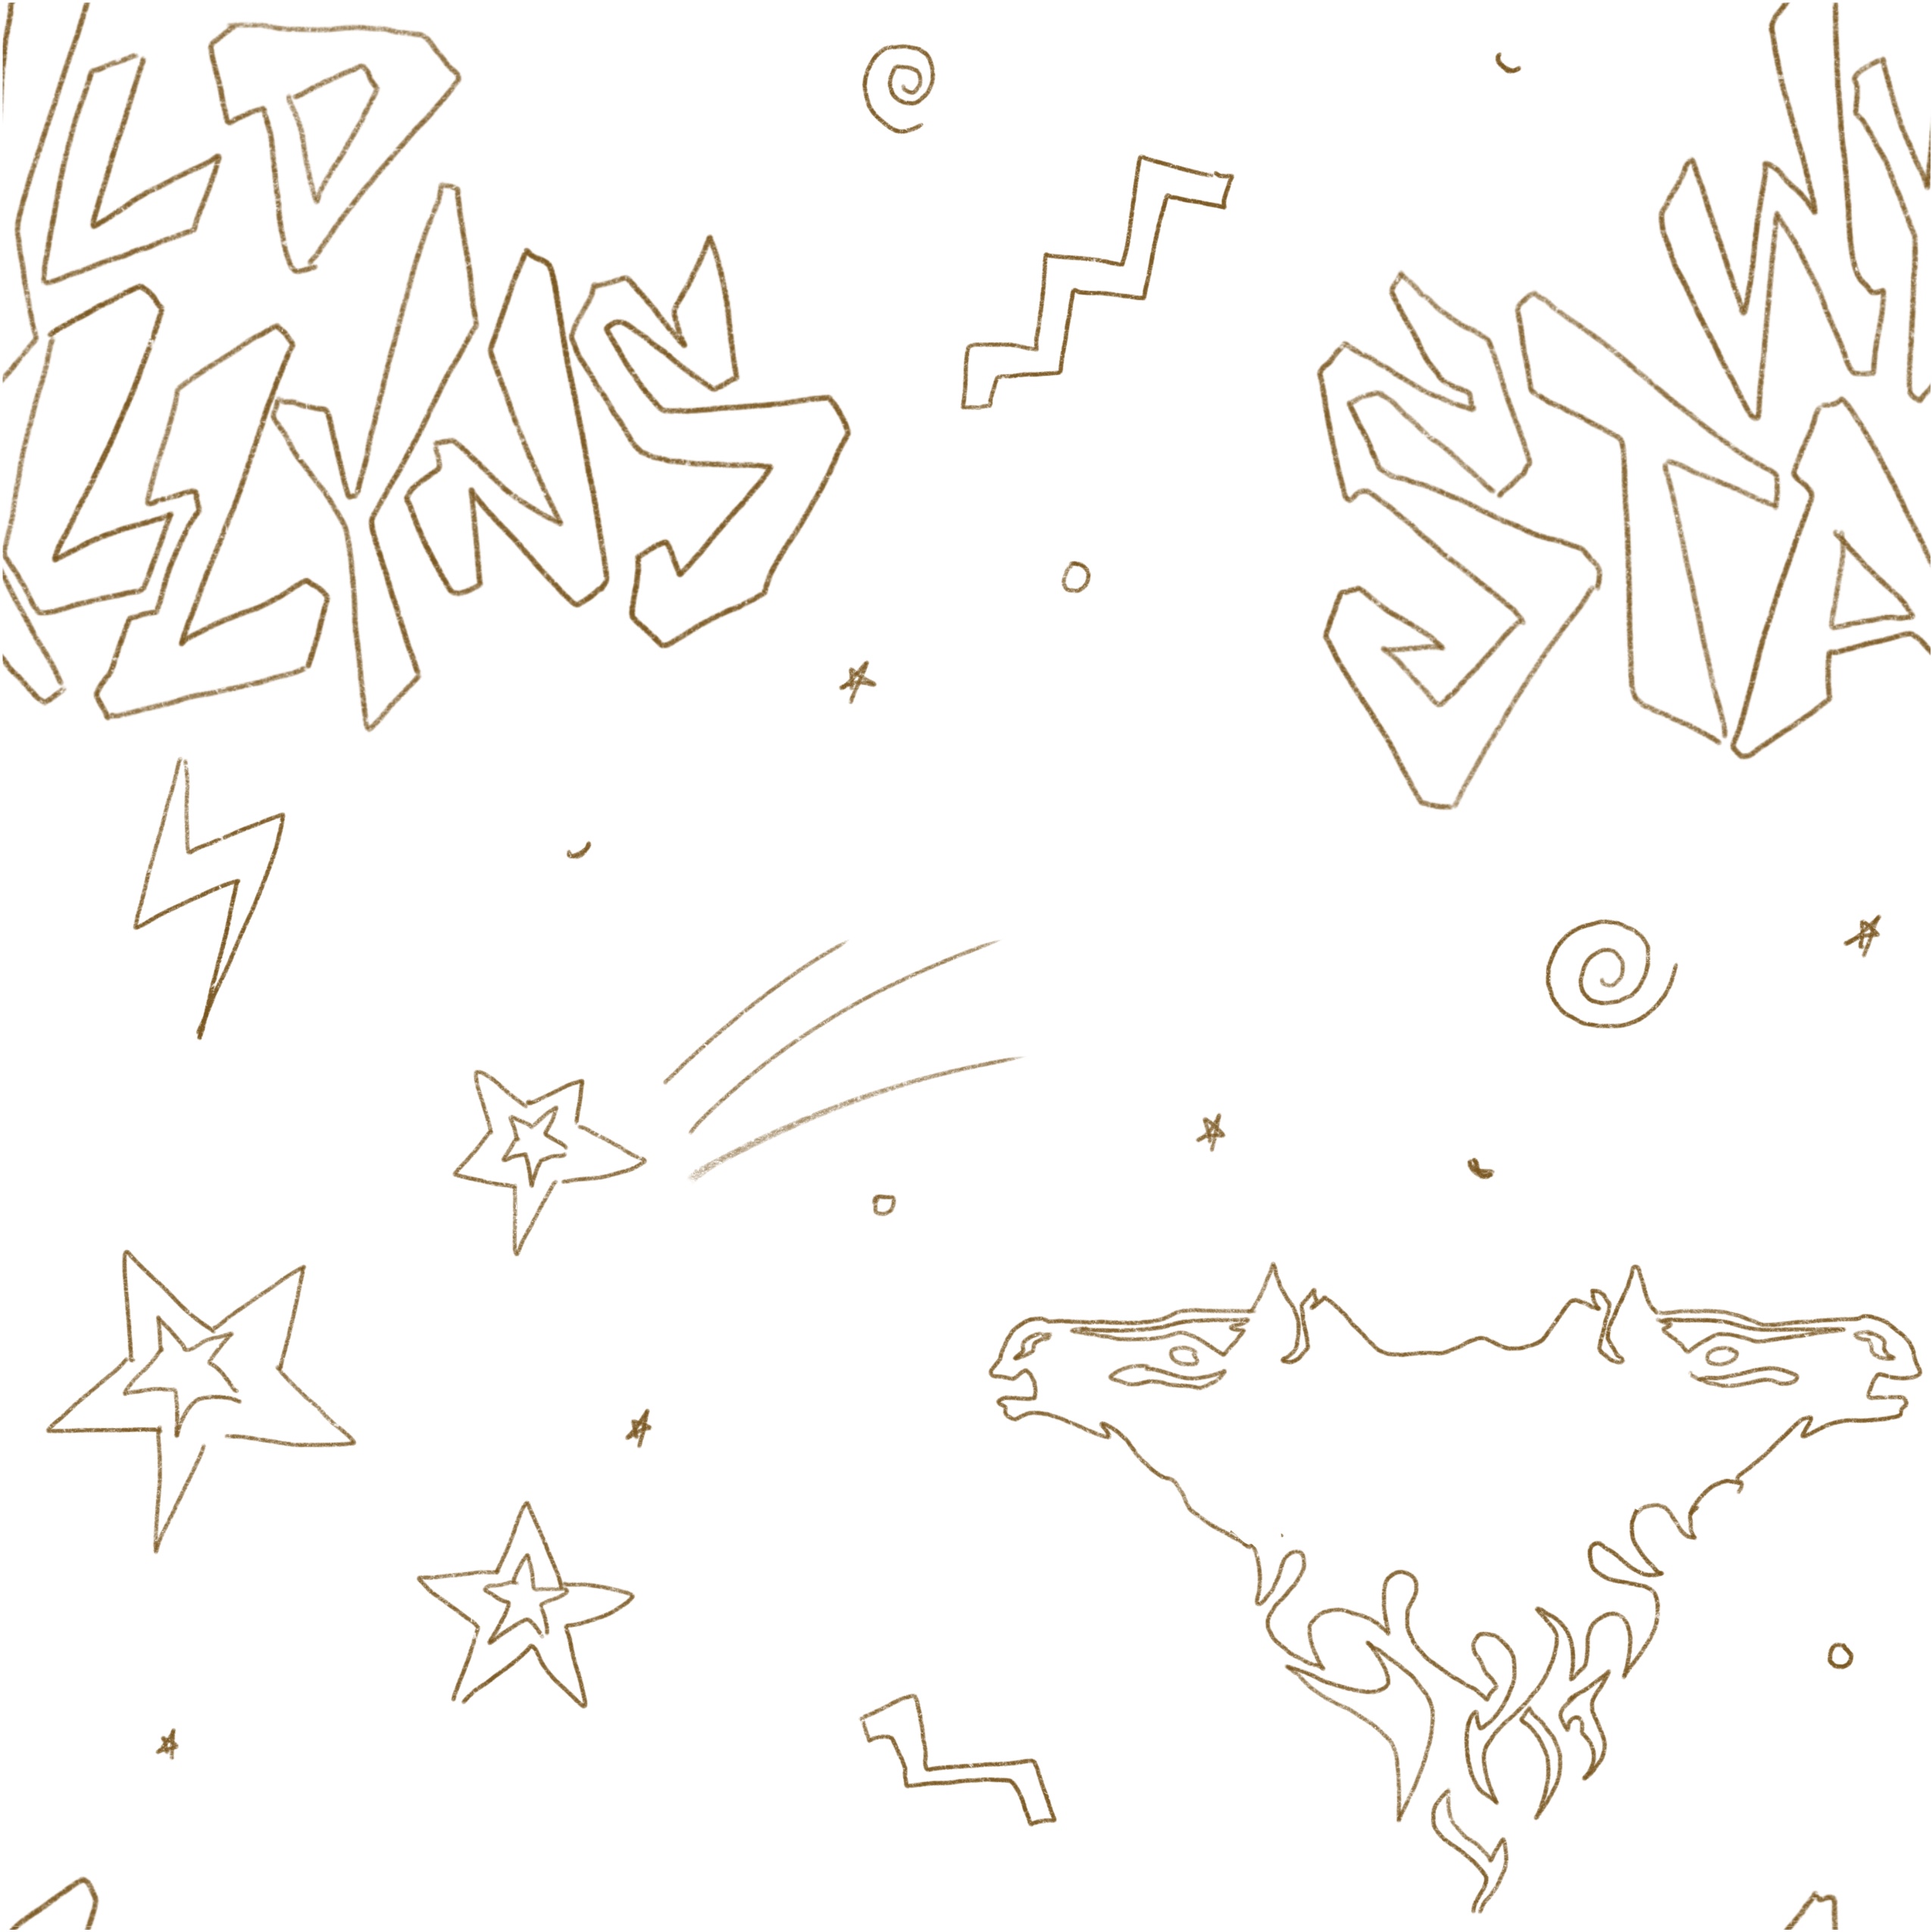
I really enjoy making repeating patterns; I just think they're fun! I went through a few different sketches and ideas to try to figure out what the final pattern would be, the first pulling from a bunch of different elements (The Wyld Stallyns text logo, the double horse logo, and random filler elements like stars, spirals, and lightning), the second based on the logo we see painted on Bill and Ted's van in Bogus Journey, and the third a mix of the van logo and the double horse-headed human figure from Bill's shirt in Face the Music:
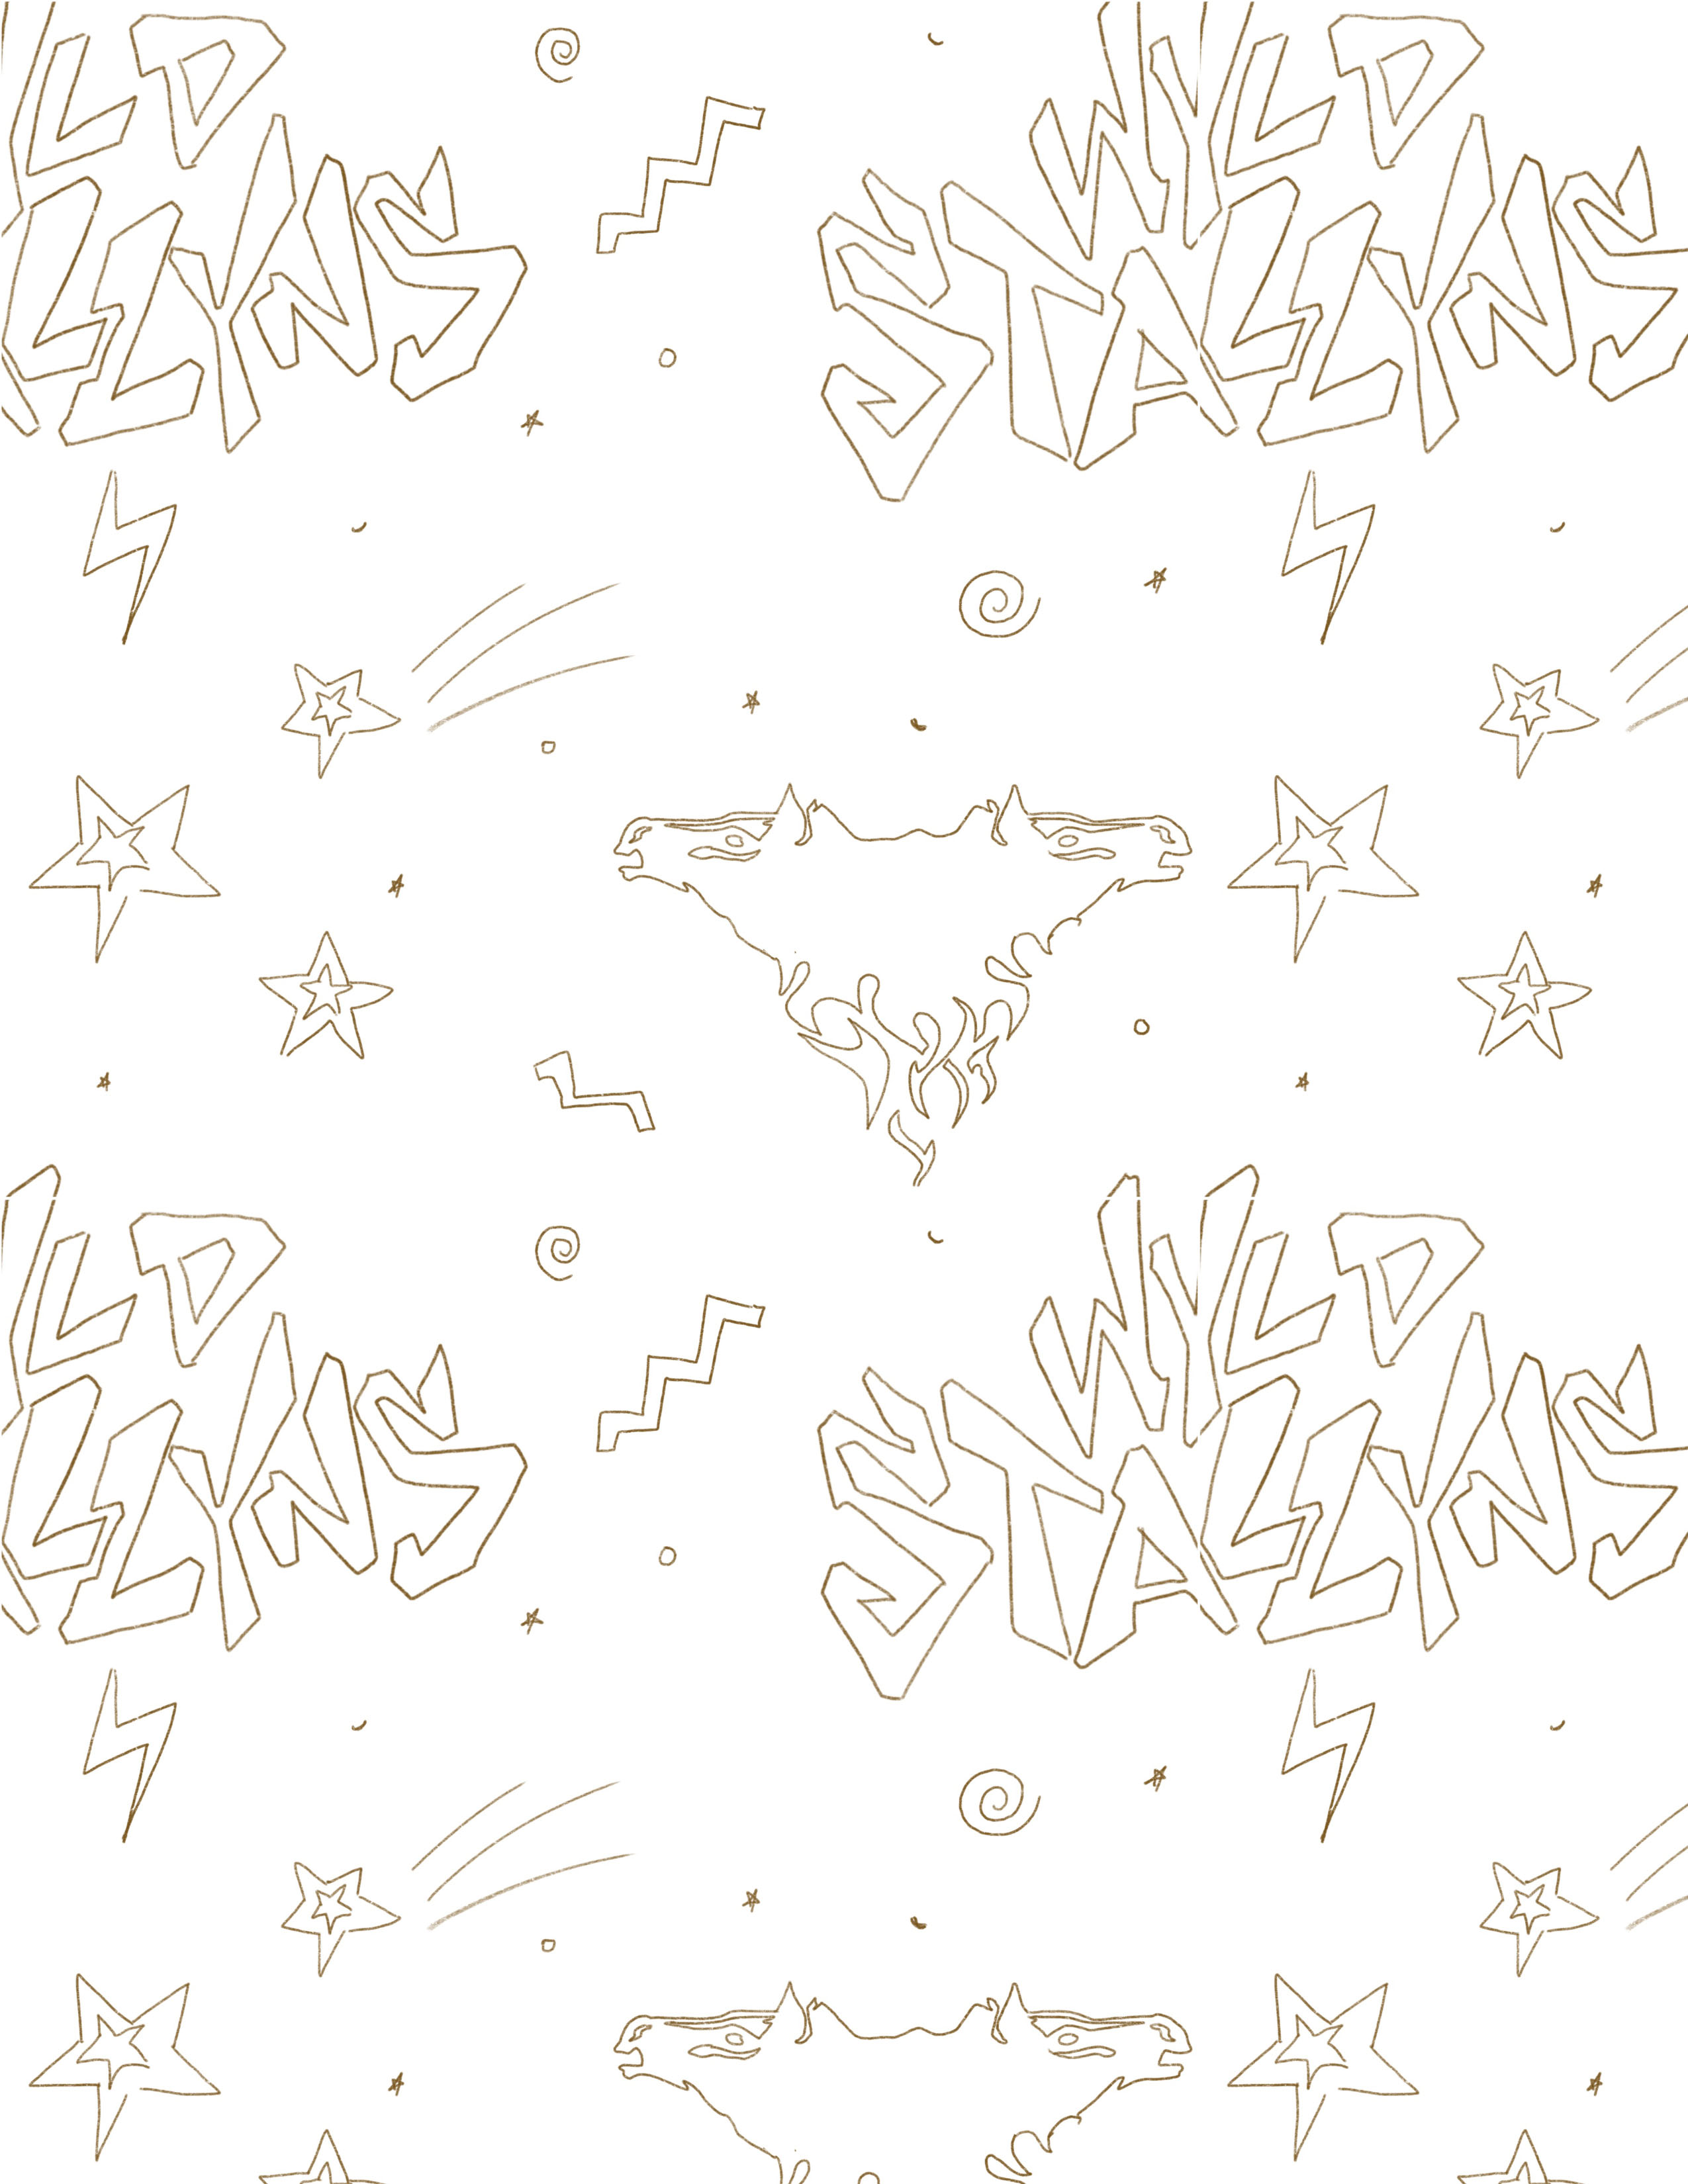
I wound up going with the first one -- it seemed the easiest of the options to carve, since I wasn't sure how I was going to delineate the three layers of the Wyld Stallyns text in sketches 2 & 3 when I was still relatively new to block carving.
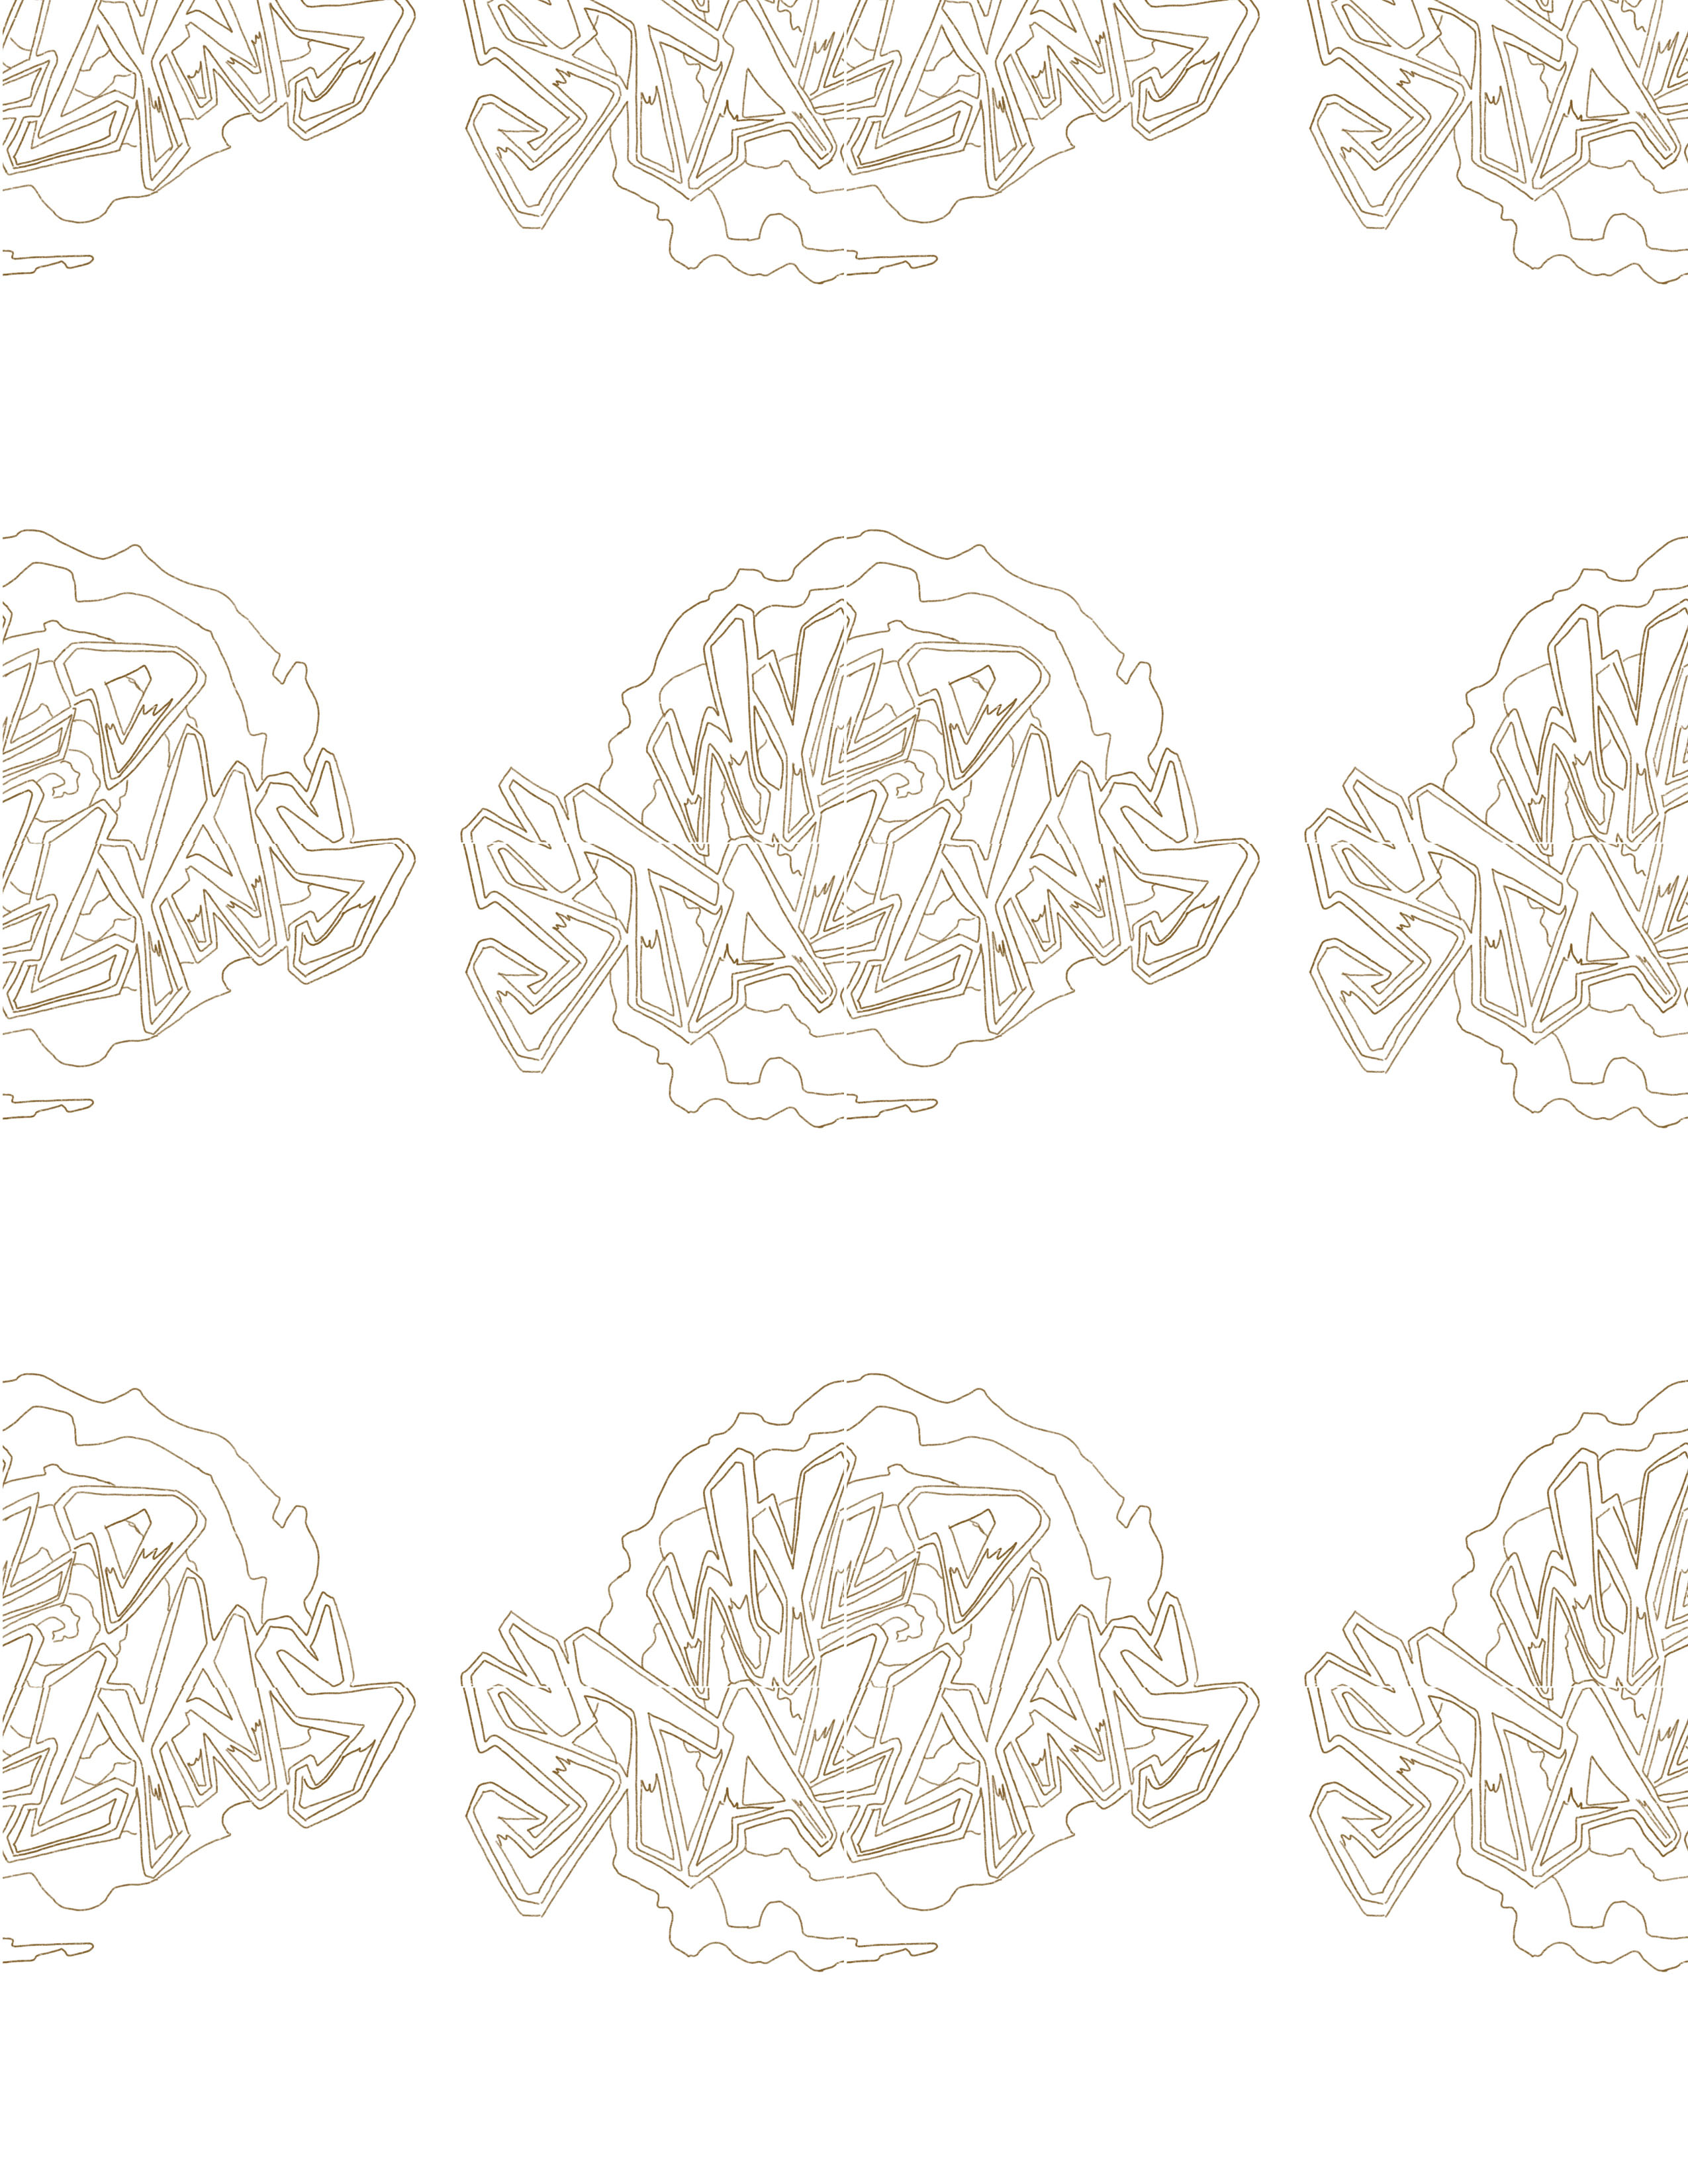
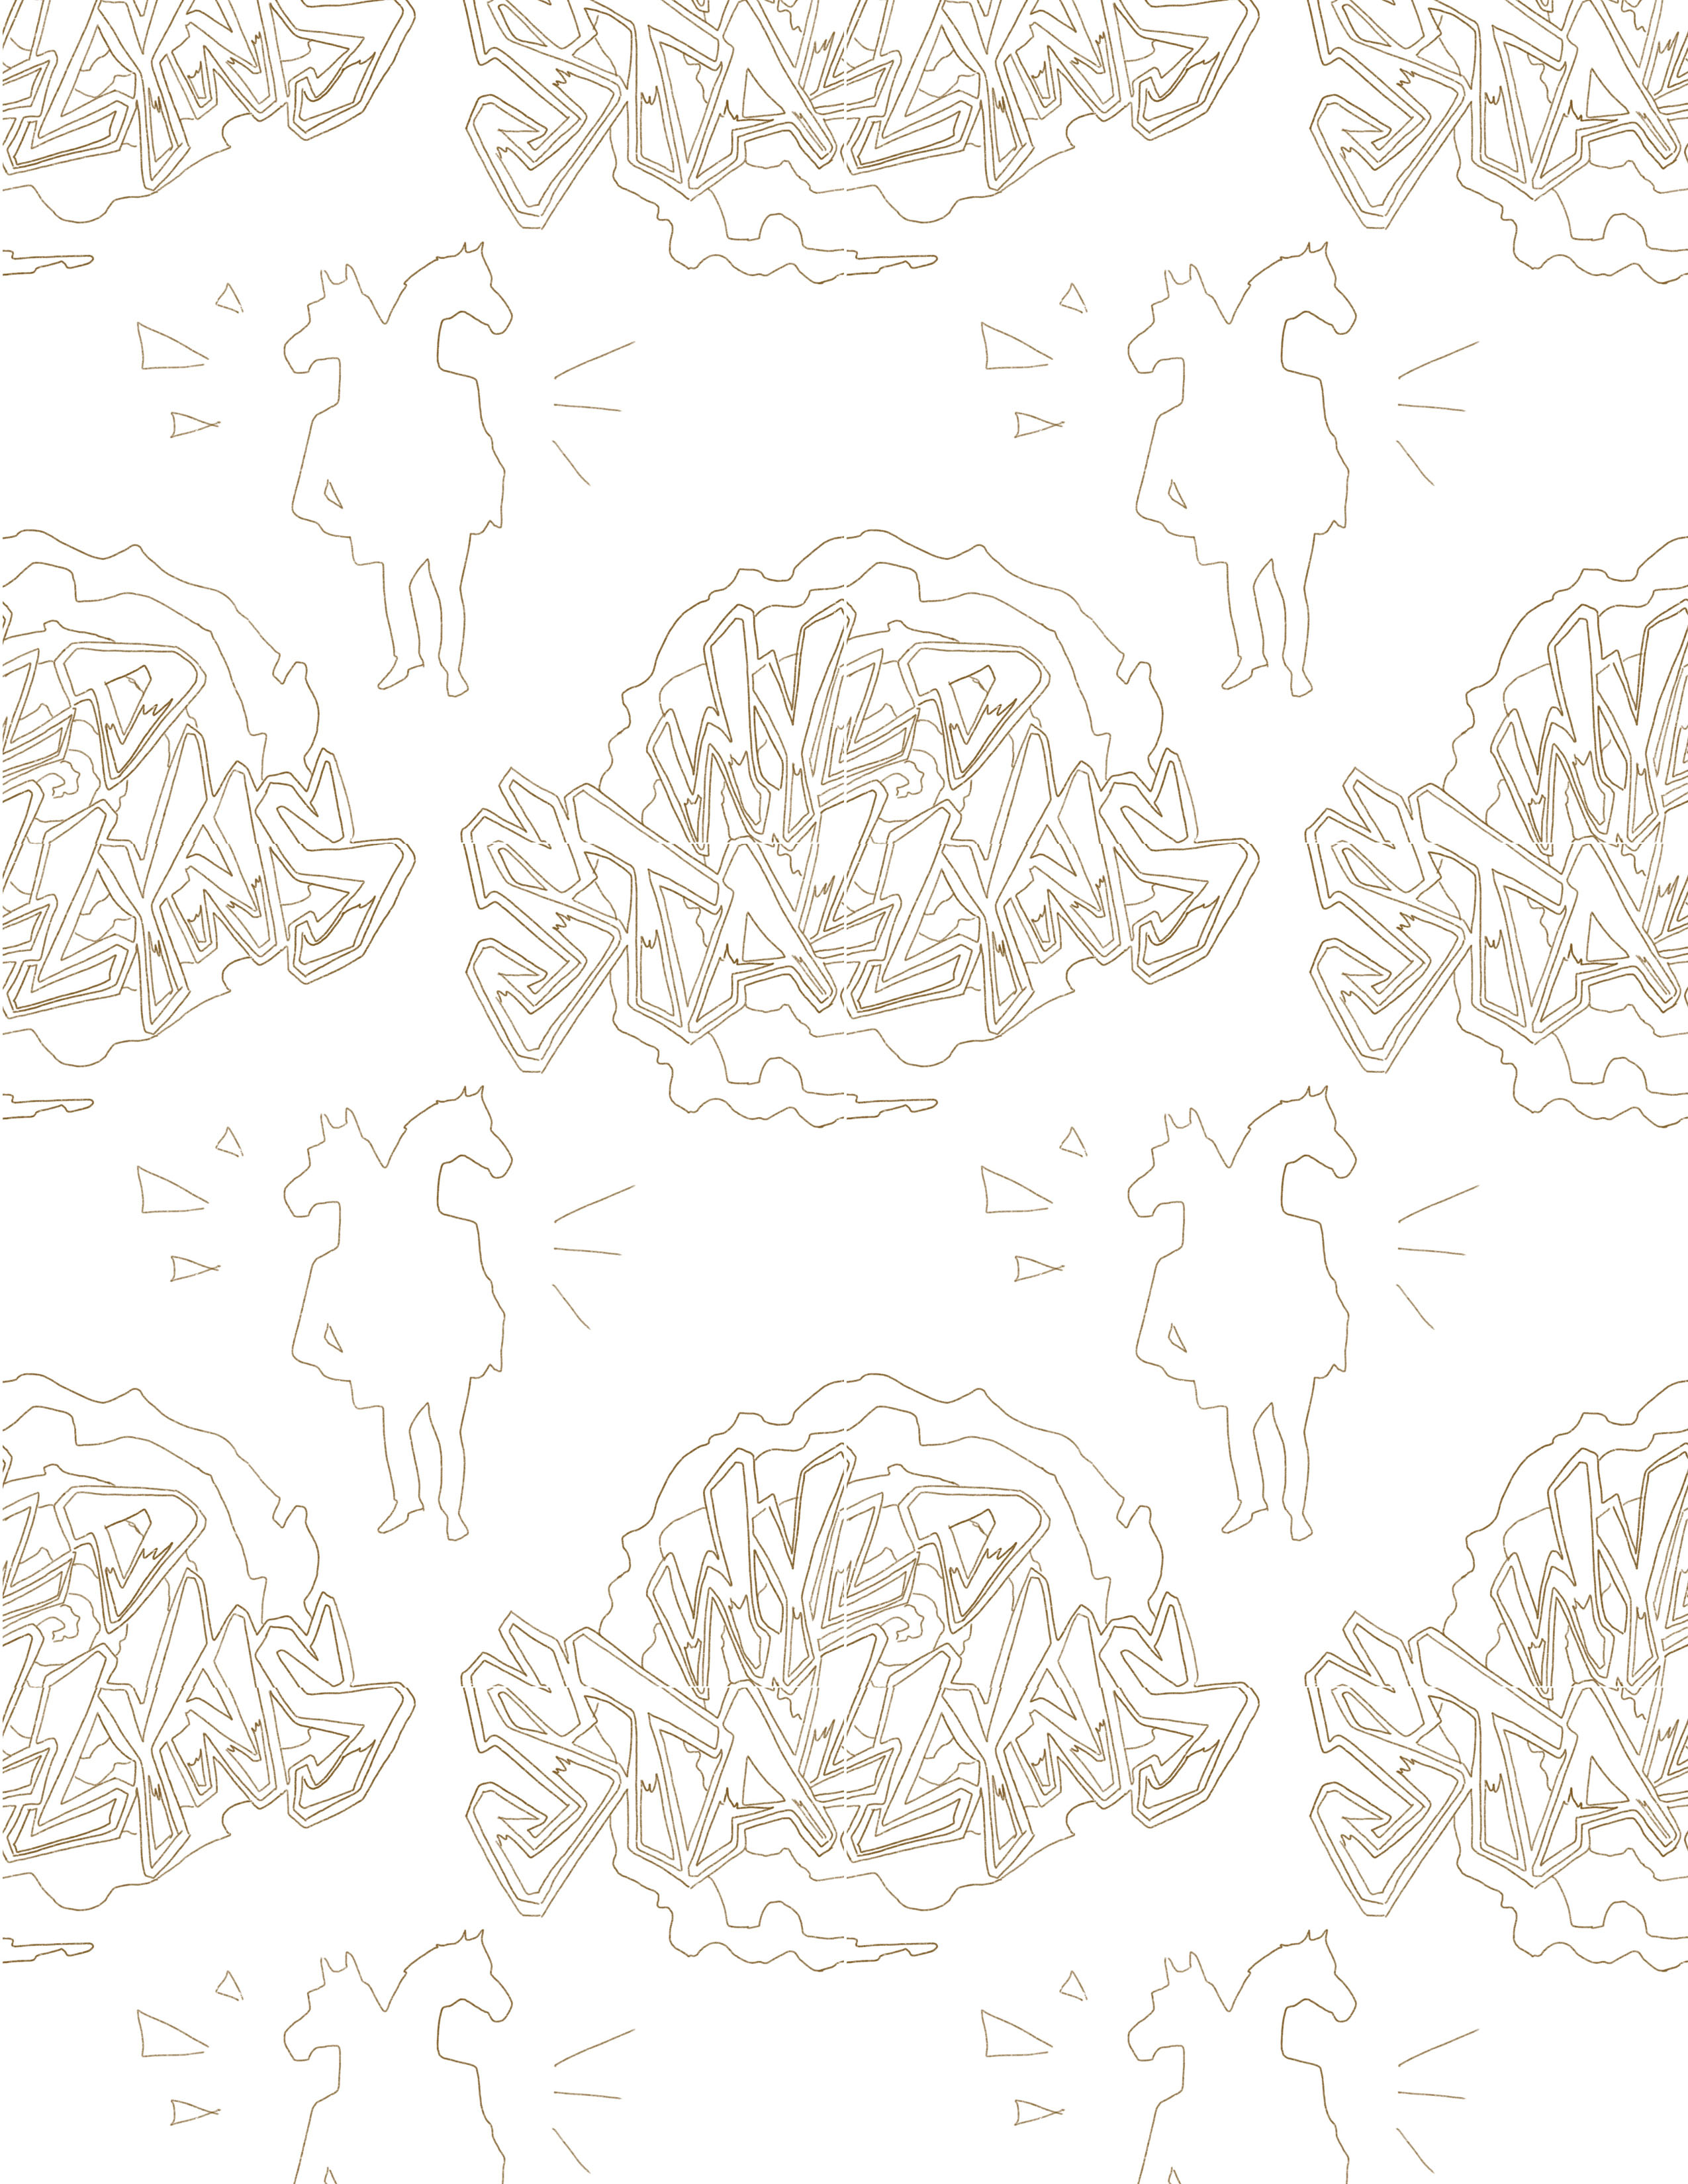
Here's a sketch of the repeating block by itself:
If you want to make your own block, you can trace the mirror image onto the block and get carving!
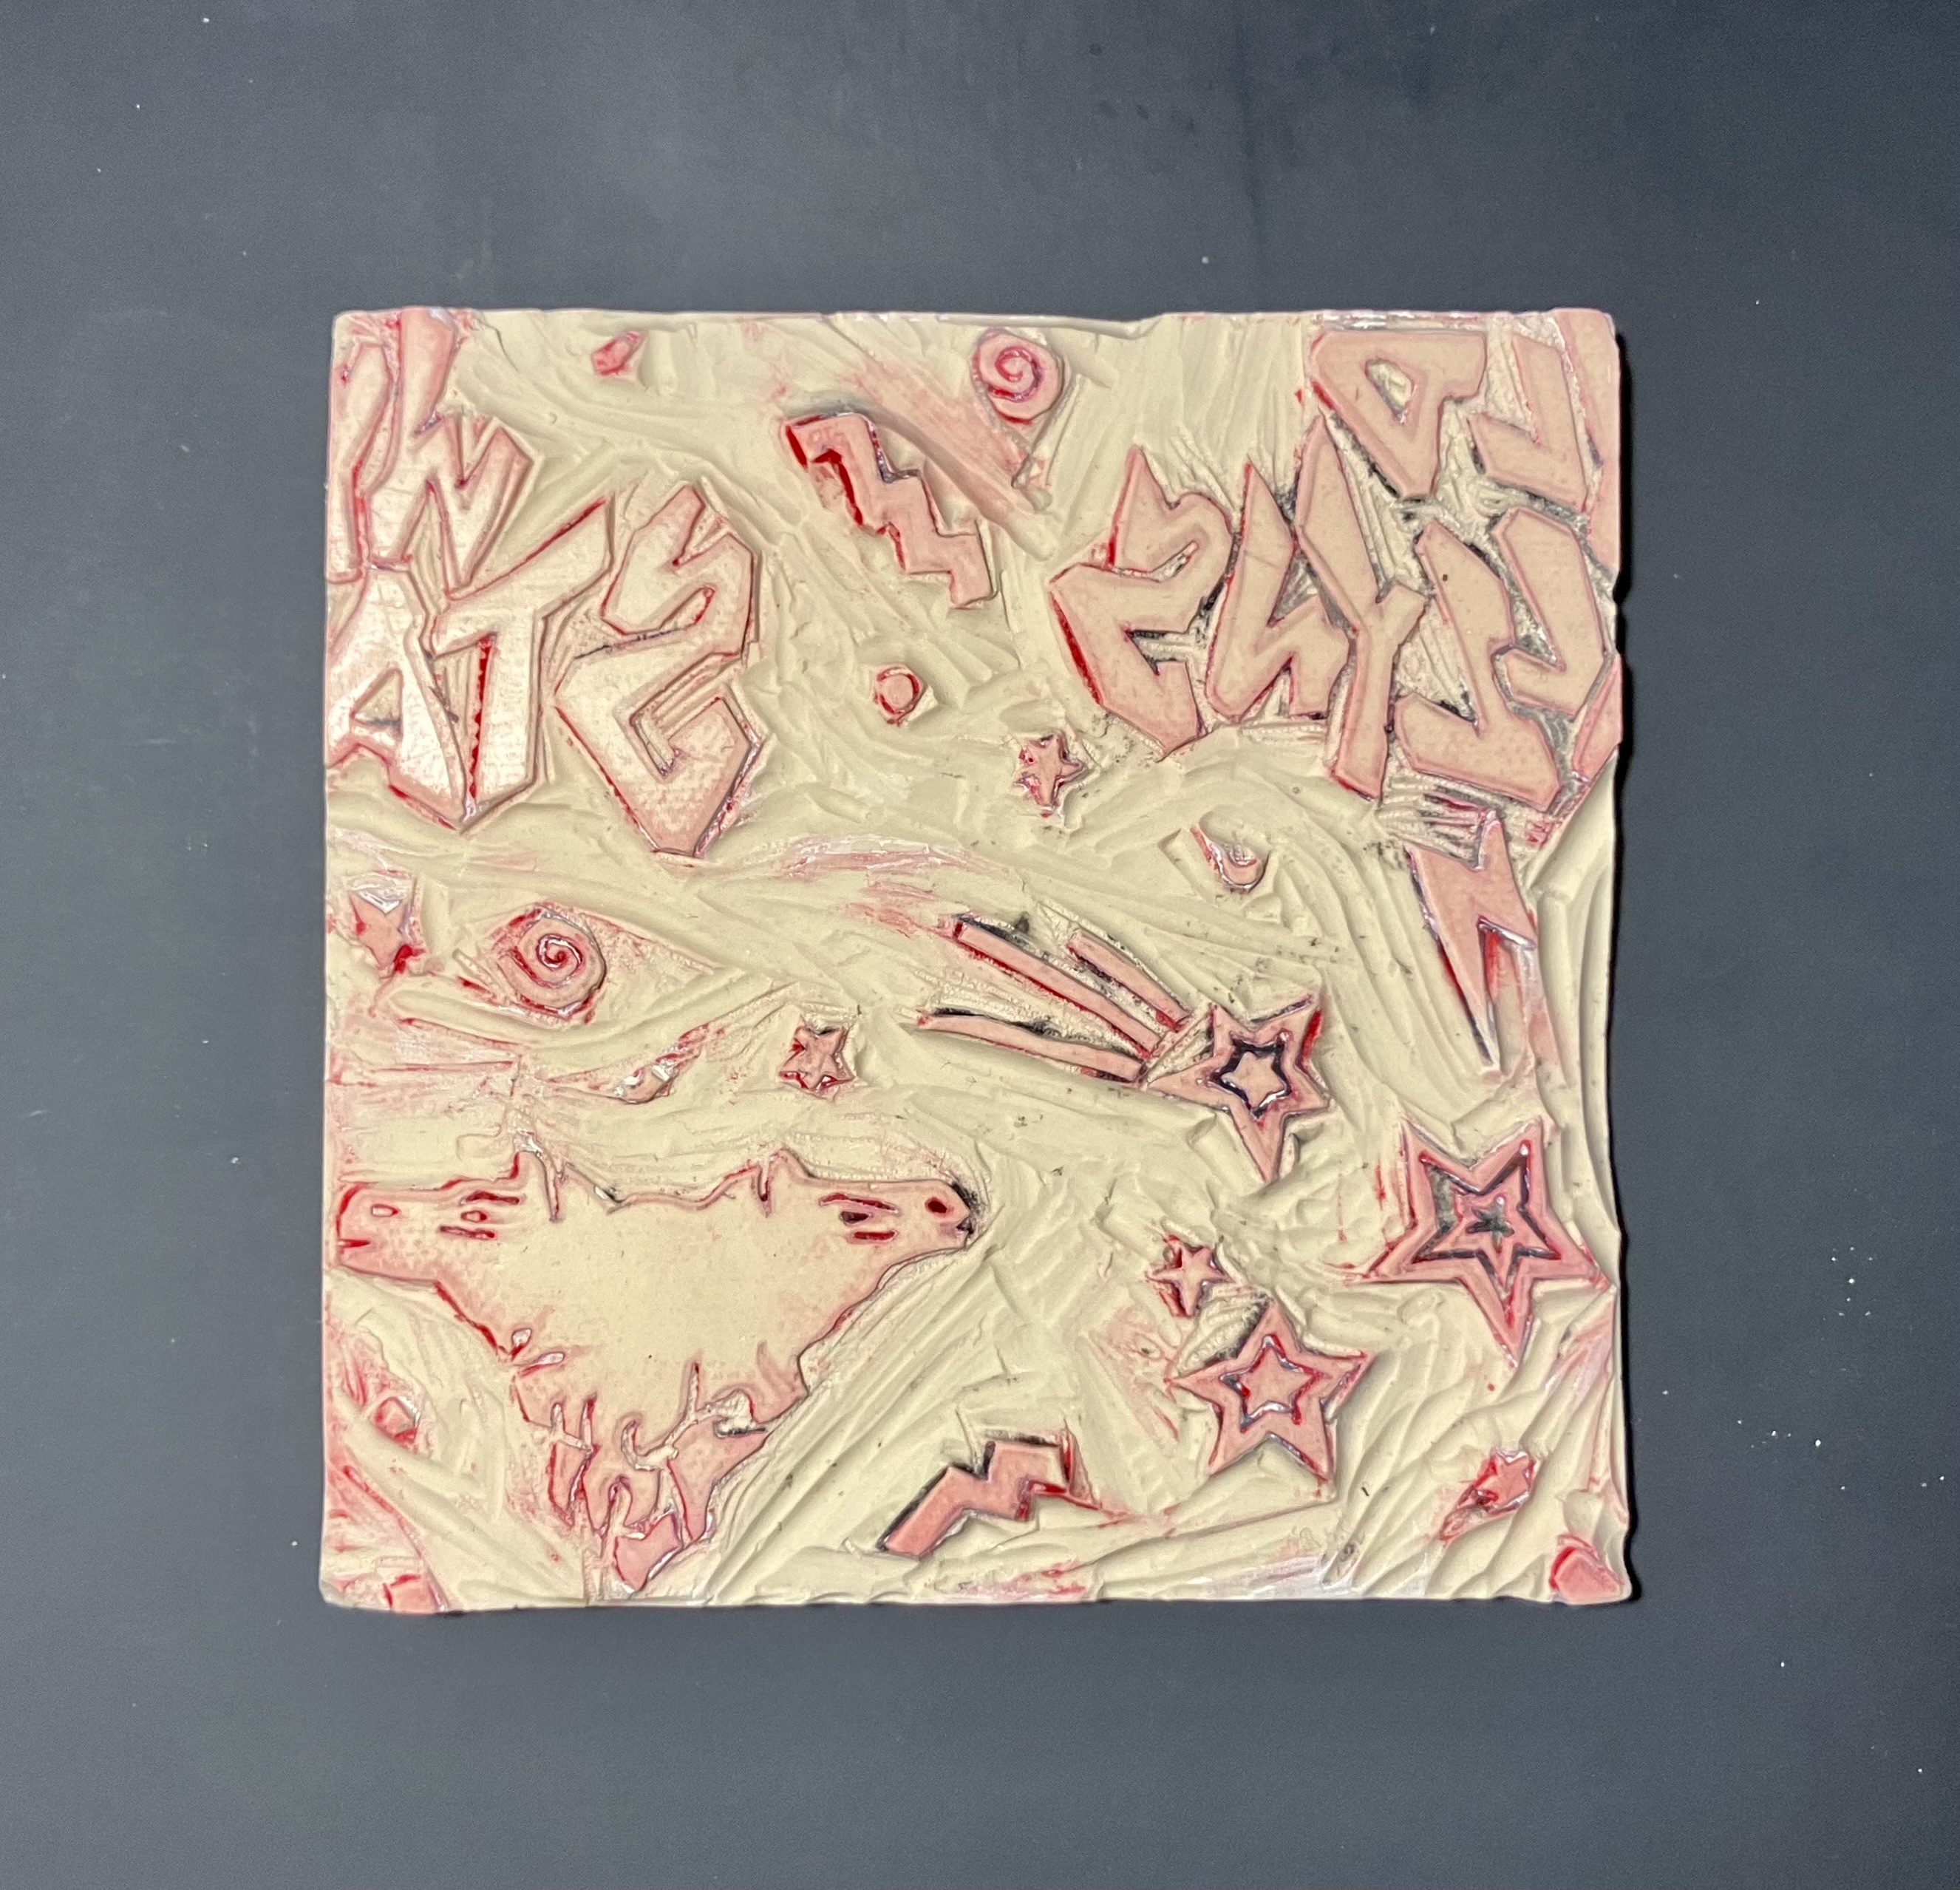
I don't have any WIP photos of the carving itself, which figures, but here is a picture of the final block (I forgot to take a picture of it before I started printing with it -- I don't always clean my supplies super well. In a way, this is kind of a plus, since it helps differentiate between the back of the block and the actual pattern pieces). It's carved into the block "backwards" because you'll want it to print the pattern onto the fabric 'forwards' -- if you carve the pattern into the block without mirroring it, it'll print the wrong way onto the fabric lol
And here's a photo of a test print I did in one of my sketchbooks:
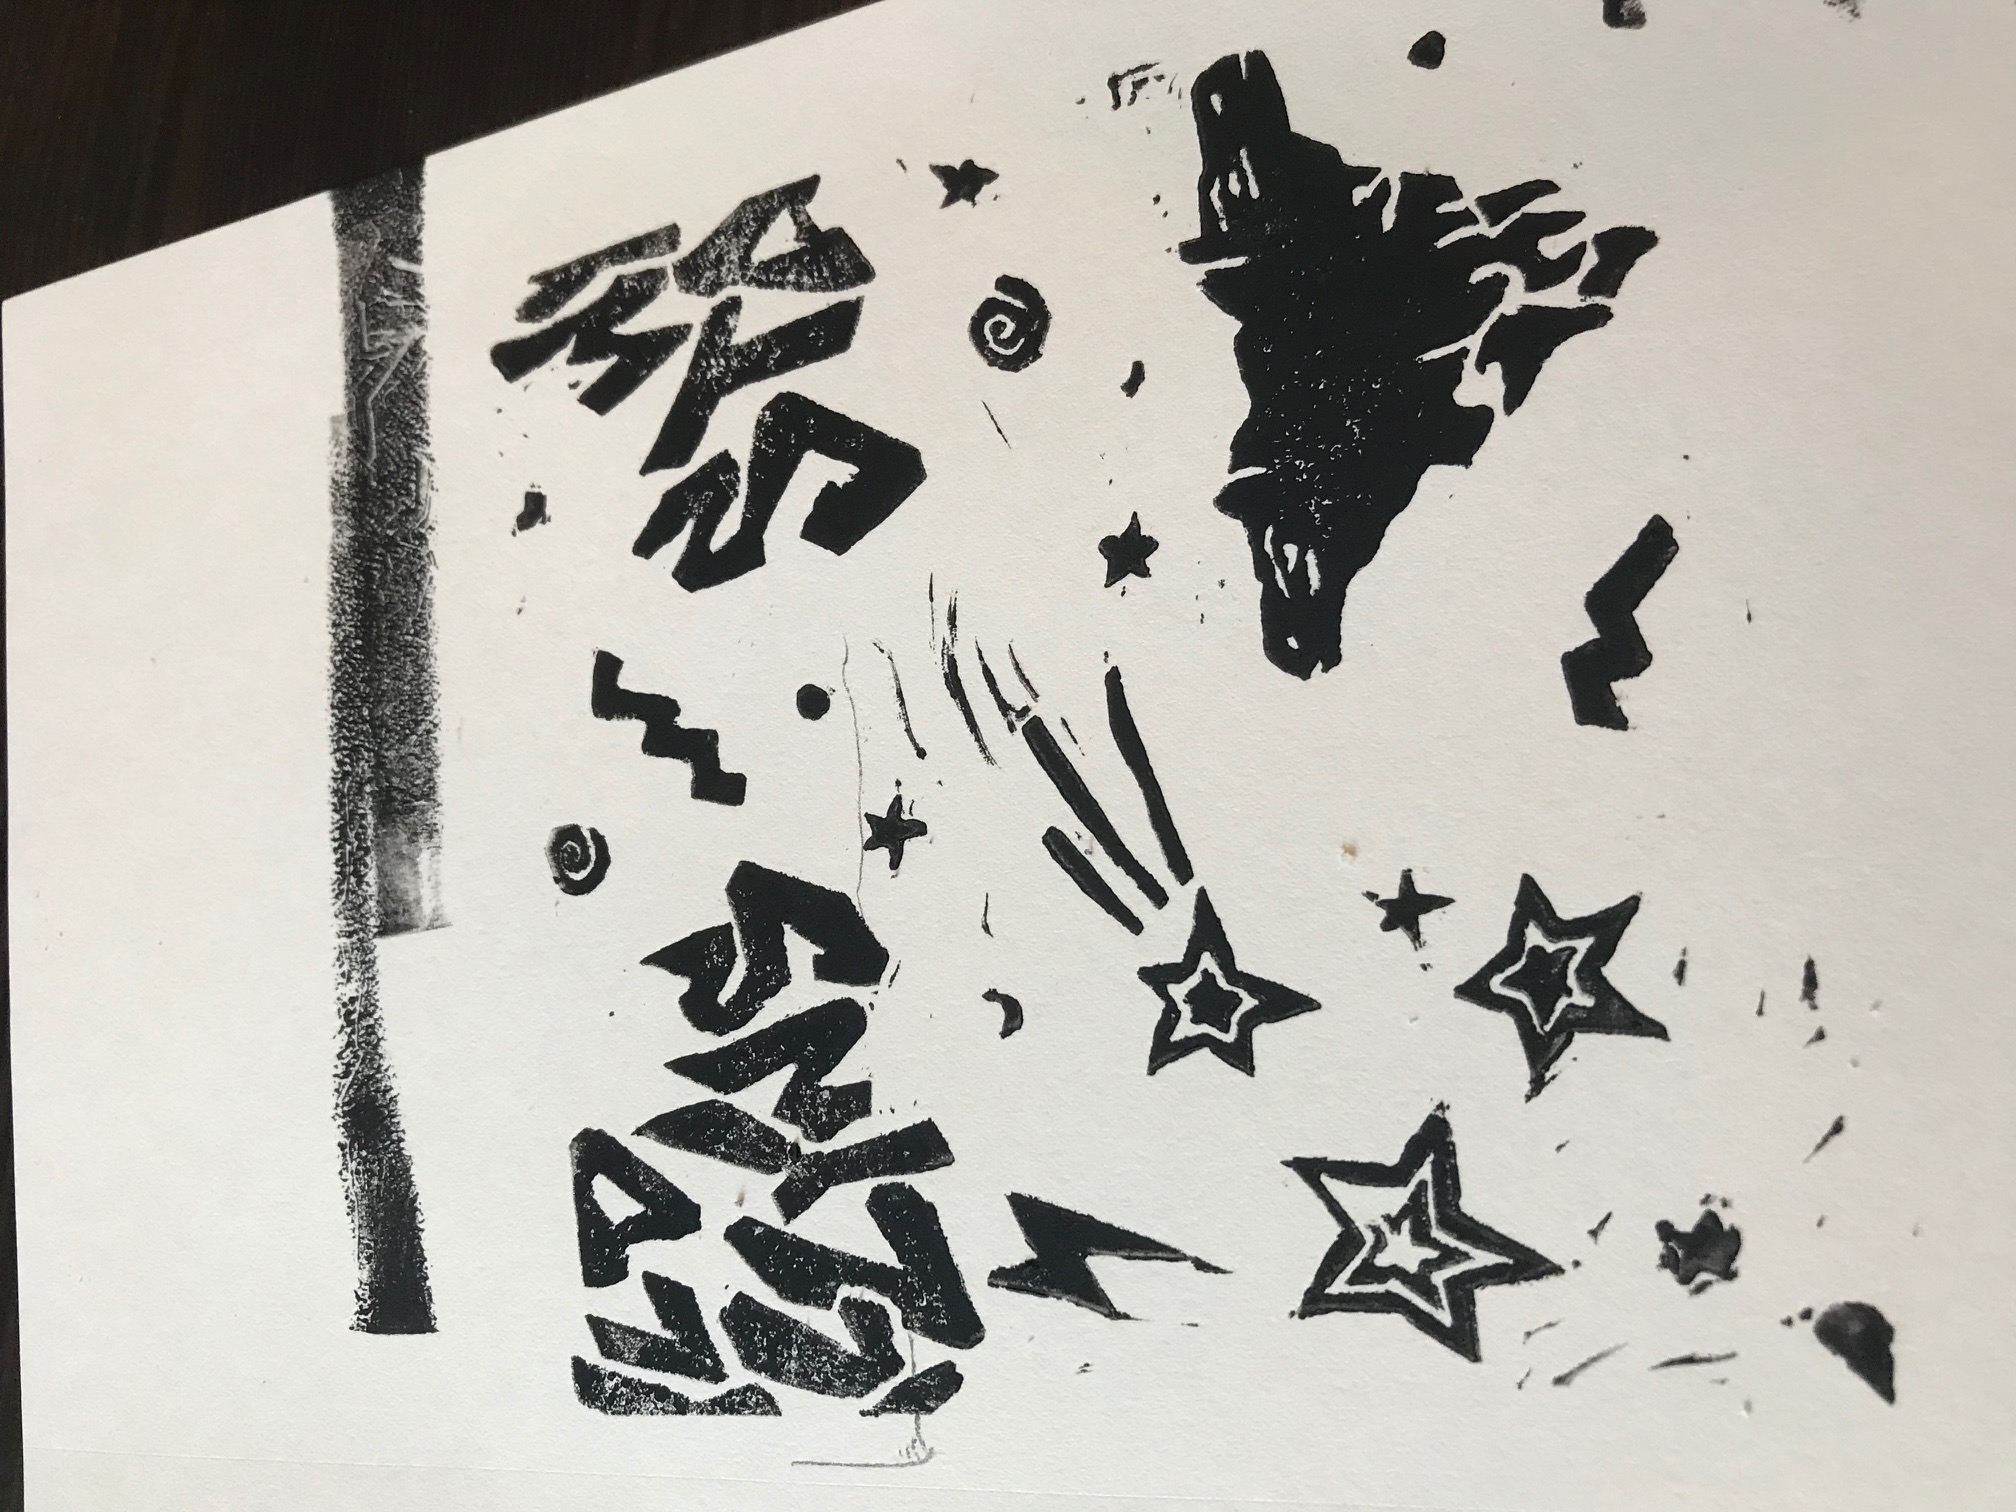
(These are good to do since you can see where you need to carve back the background a little furhter - like I had to in the bottom left corner and the area behind the shooting star in the middle)
The Bag
I went ahead and had the embroidery be the centerpiece of the bag itself, which I based off the logo we see printed on the drumset in Bill's garage in Excellent Adventure
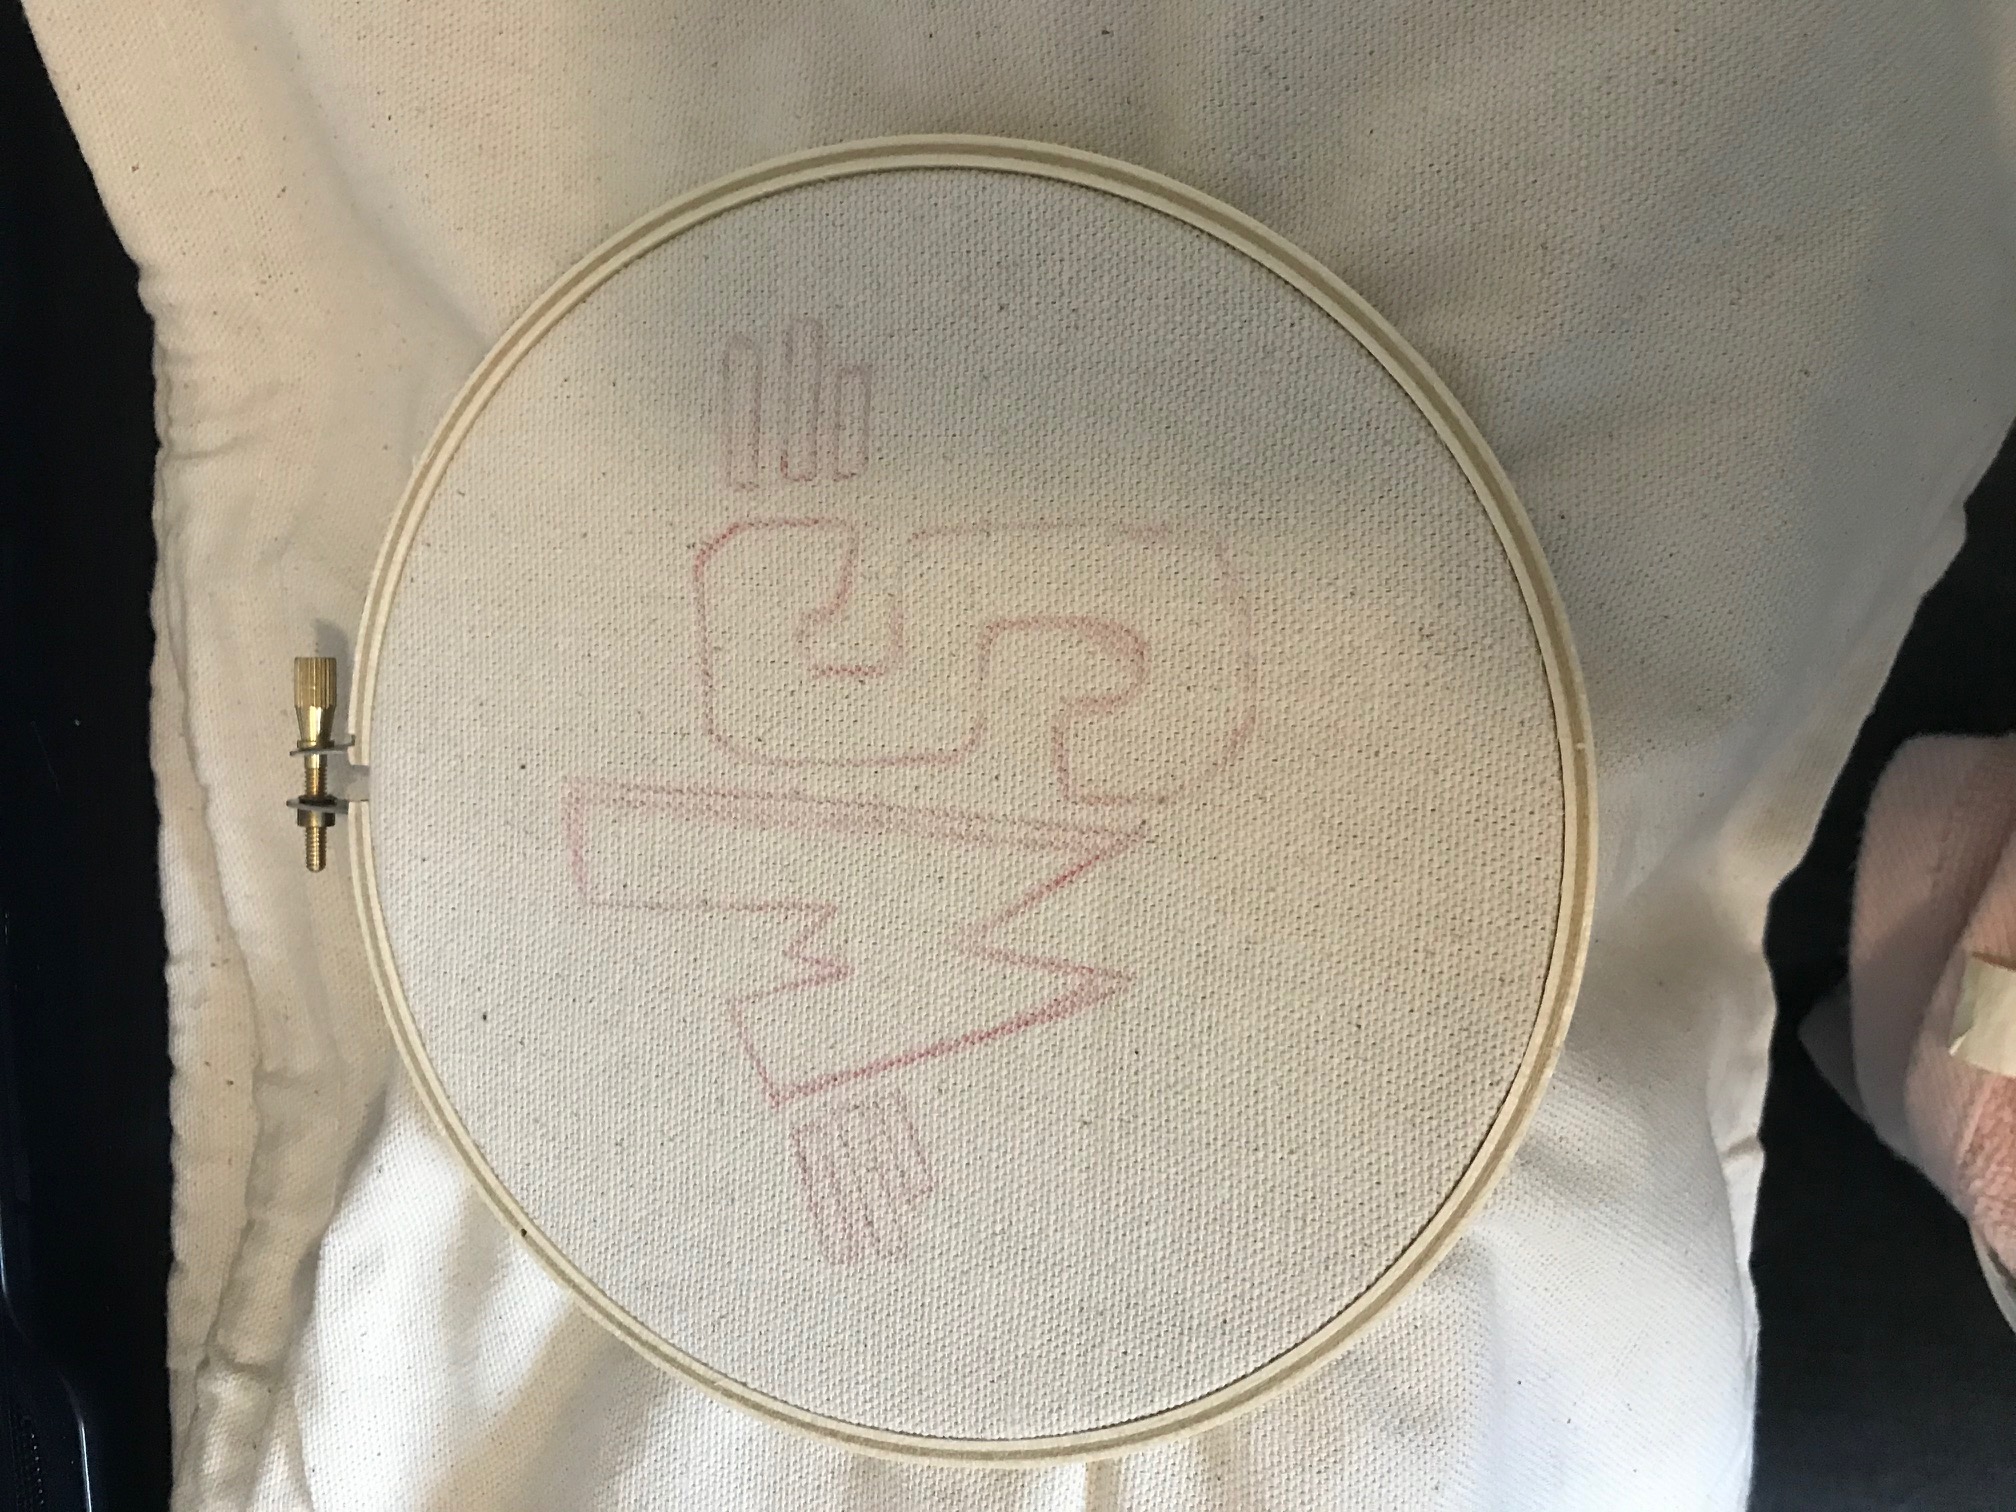
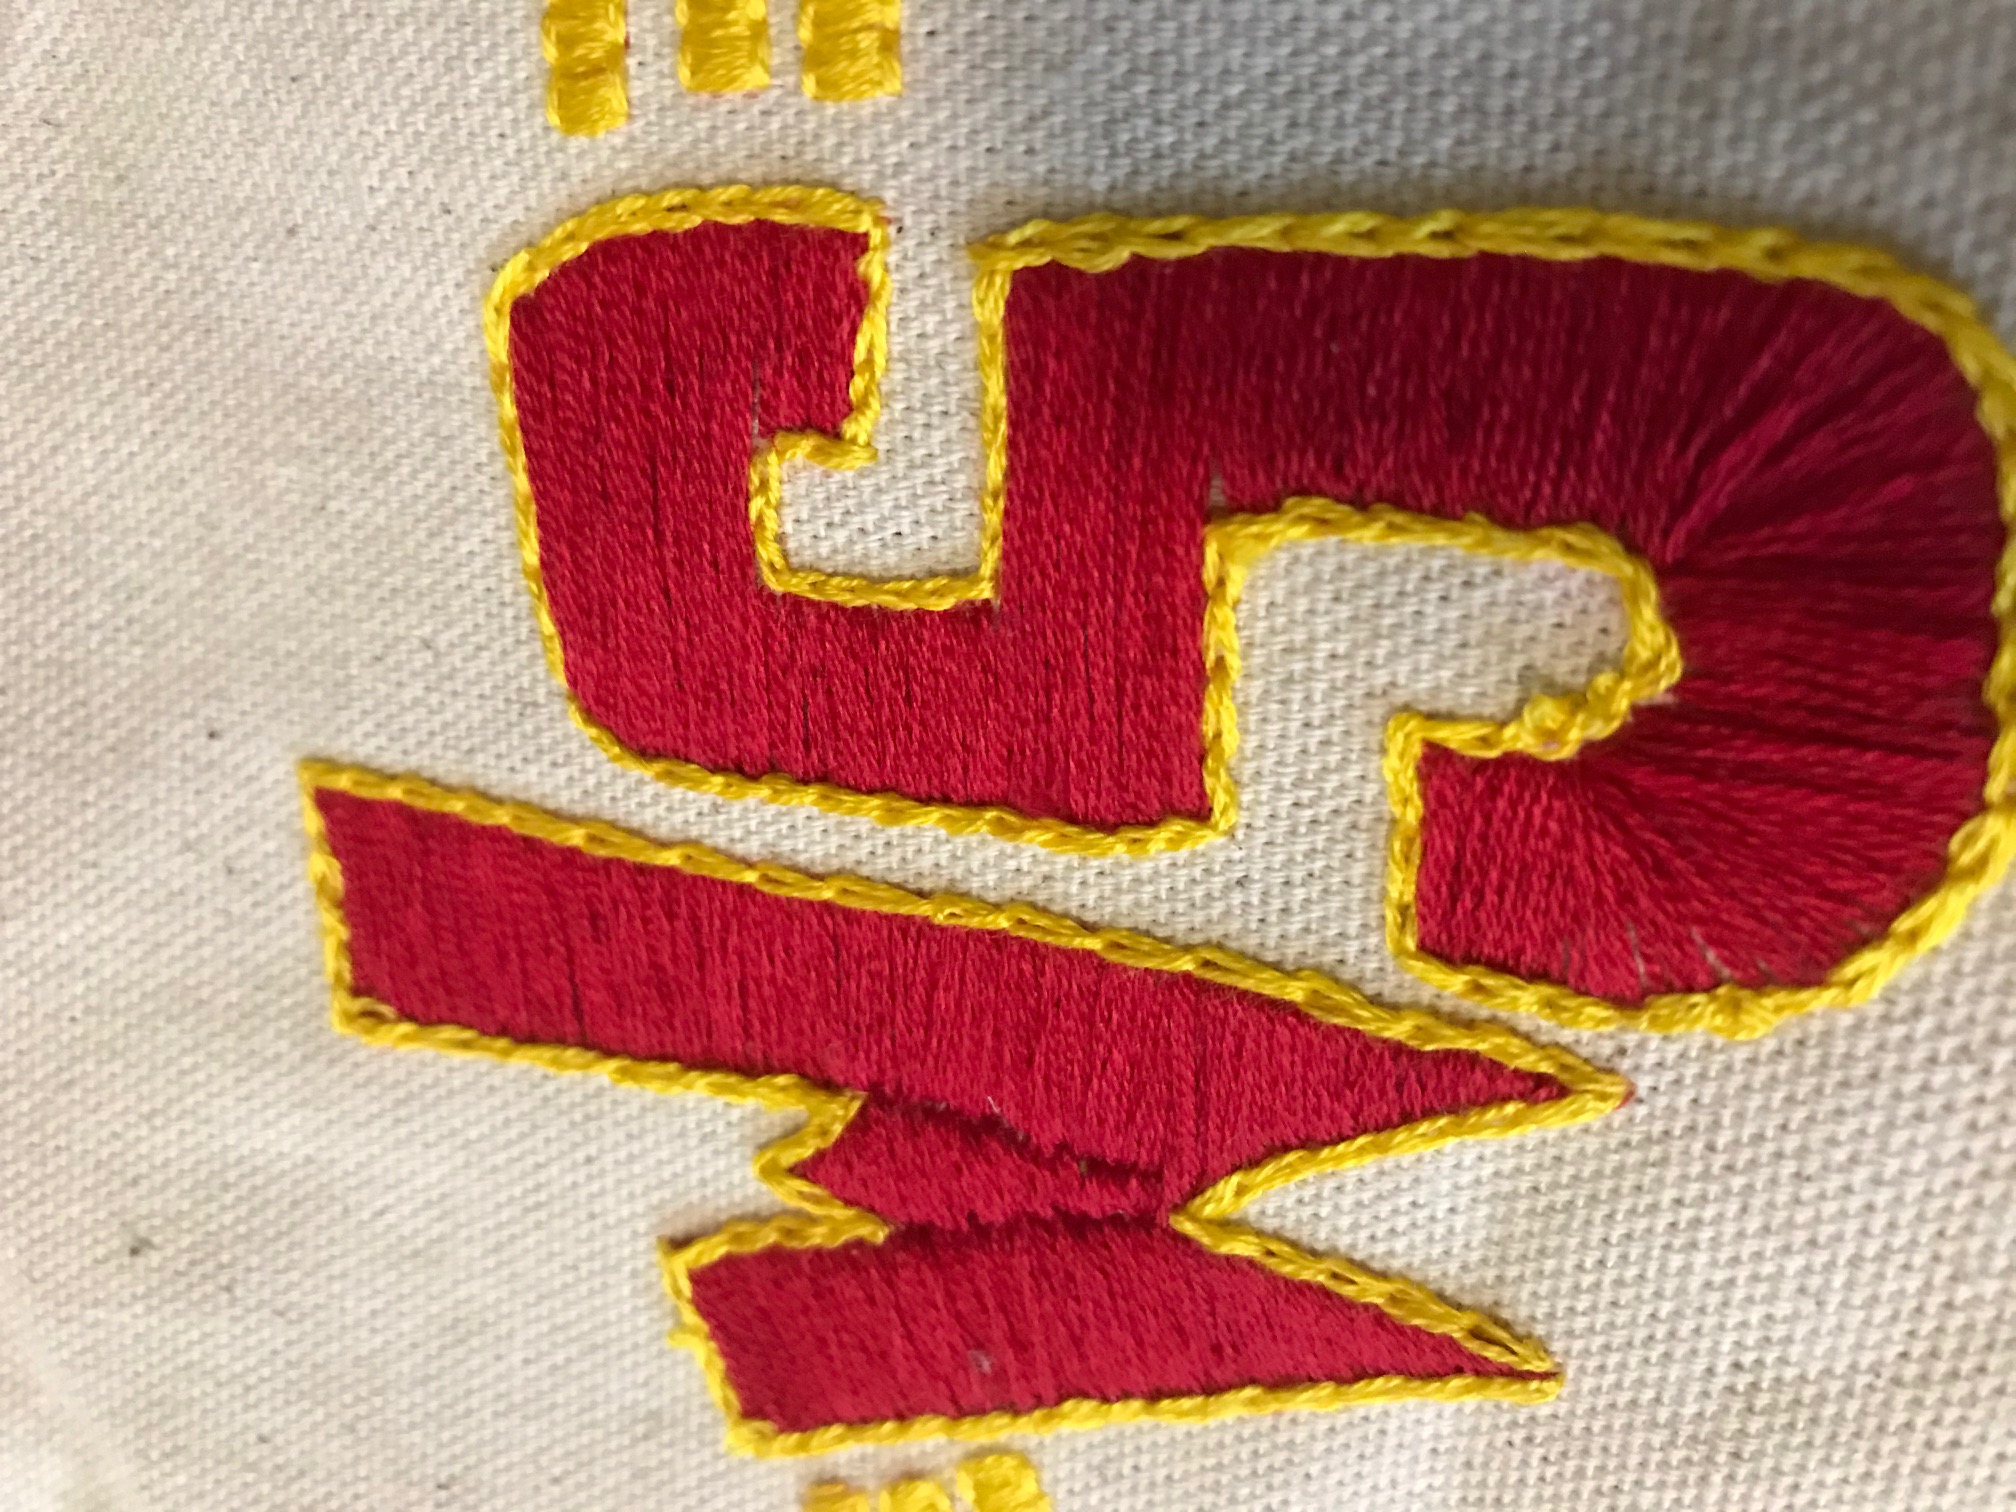
In hindsight, there was probably a way to do the embroidery without having those weird divot lines in the middle of the W, but I didn't want to risk straining the fabric too much since I still wanted the bag to be functional at the end of the day. I smeared a bunch of PVA glue I normally use for bookbinding on the back of the embroidery design, so that the threads on the inside of the bag wouldn't catch or pull on anything I put inside of it. The PVA is flexible, so it doesn't ruin the drape of the fabric while it does this.
After the embroidery was finished, I went ahead and printed the design on the bag. Also forgot to take photos of this part, of course, but I printed around the design by using parchment paper. I used the hoop I'd used when doing the embroidery to trace a circle of the stuff, and then pinned it right back into the same space -- using the crease lines the hoop left behind as a guide. Then I could make sure the pattern aligned on all sides of the circle without having to ink the block strangely or risk accidentally printing where I didn't want the pattern to be.
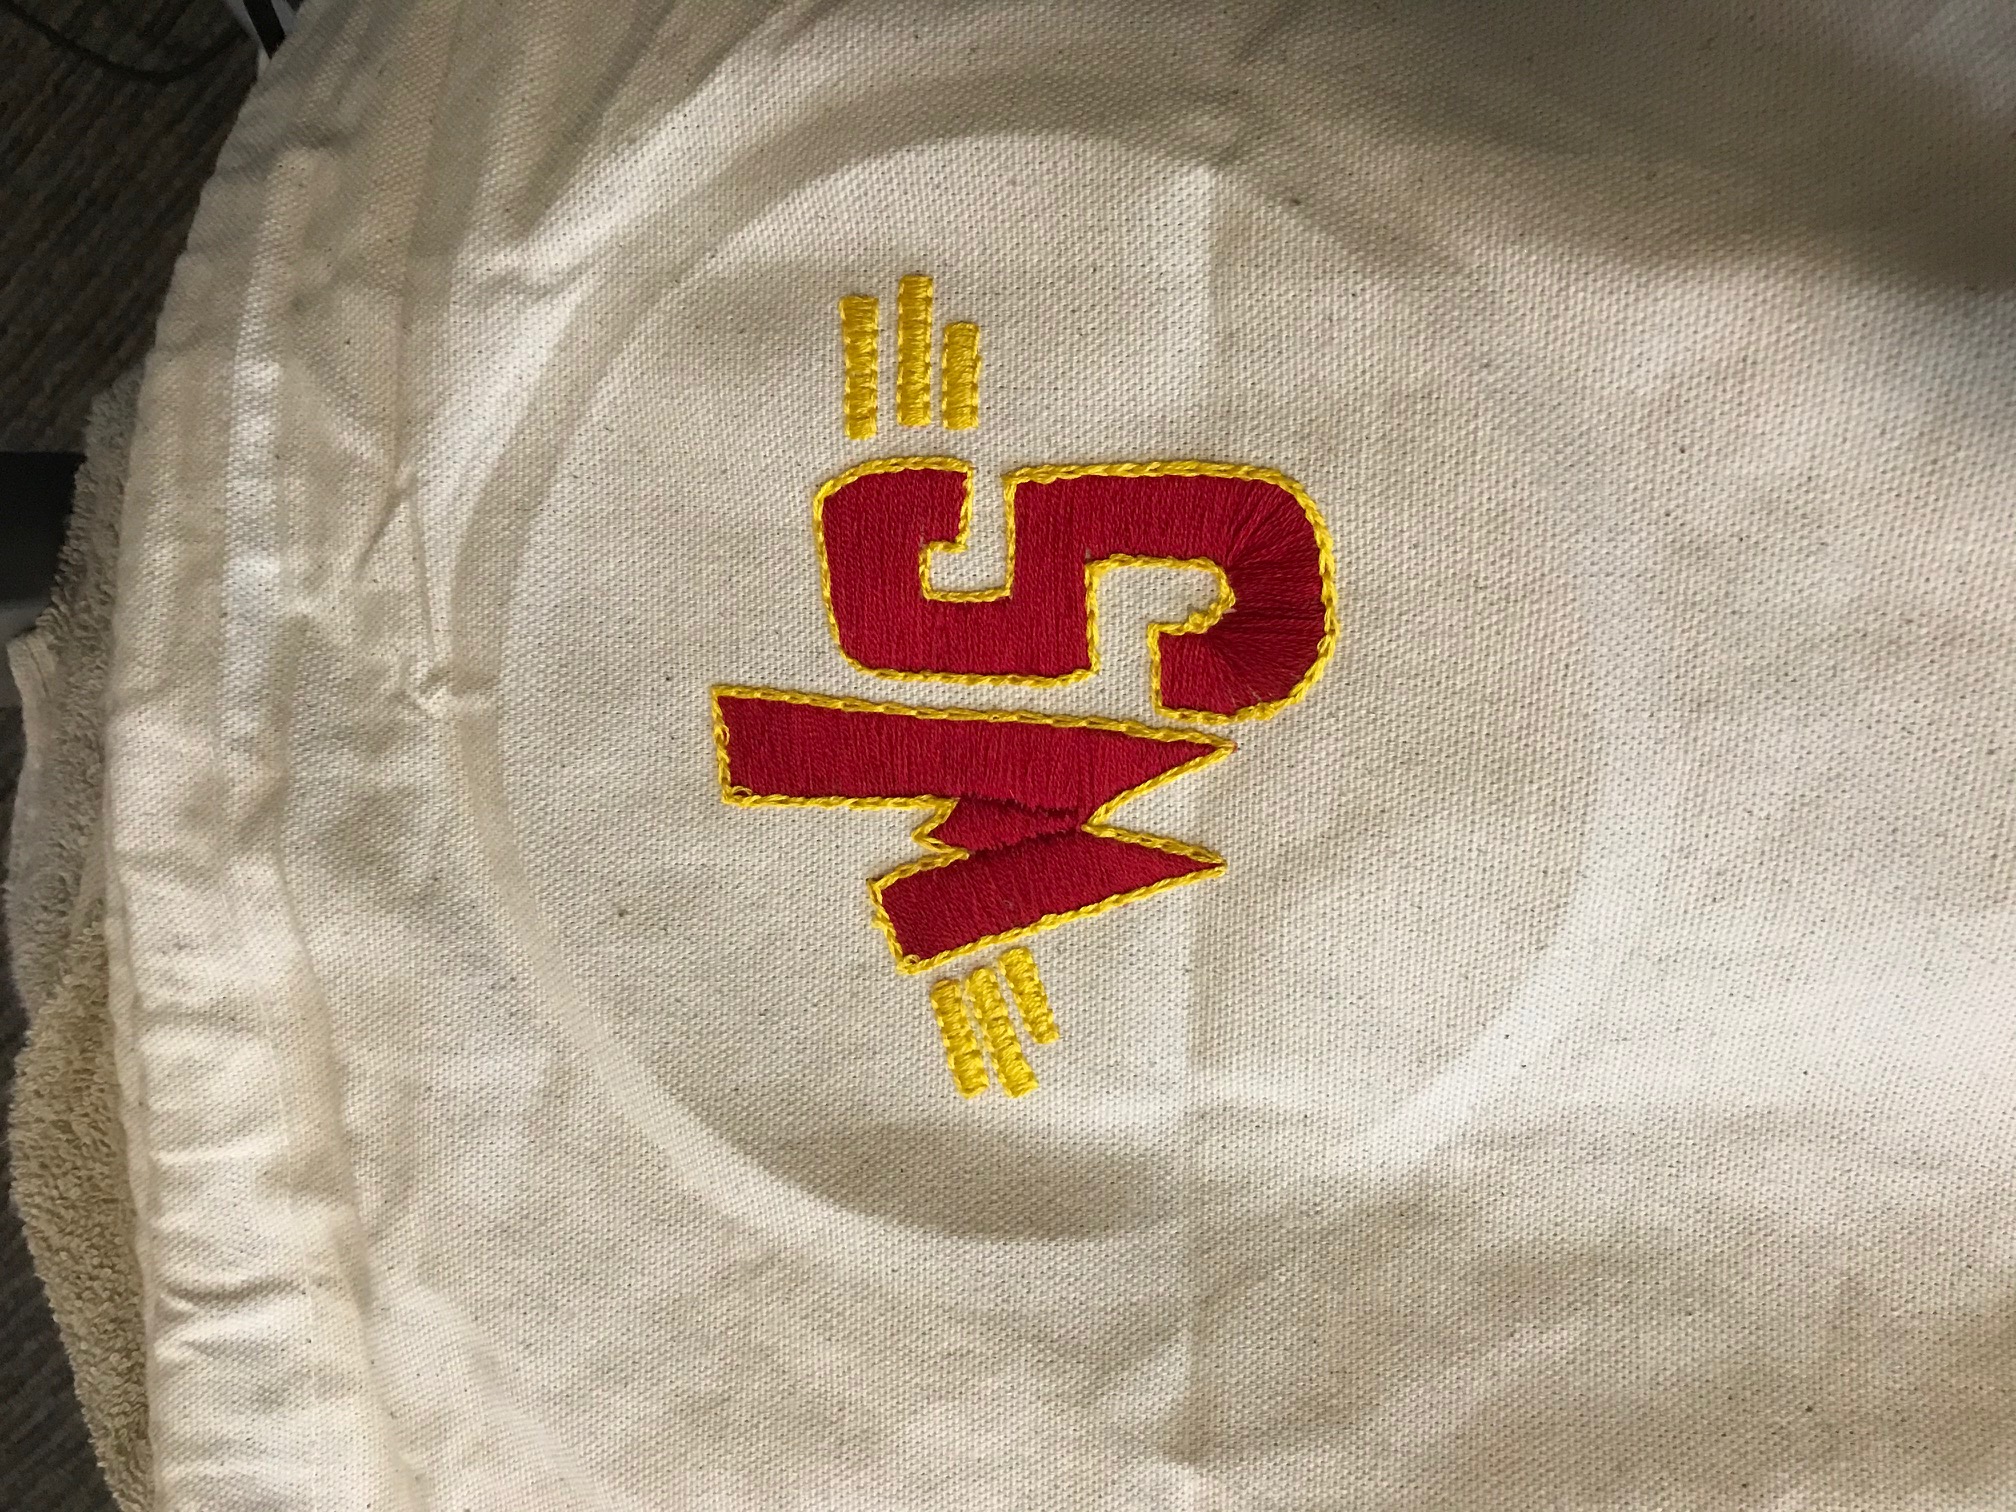
This was the end result:
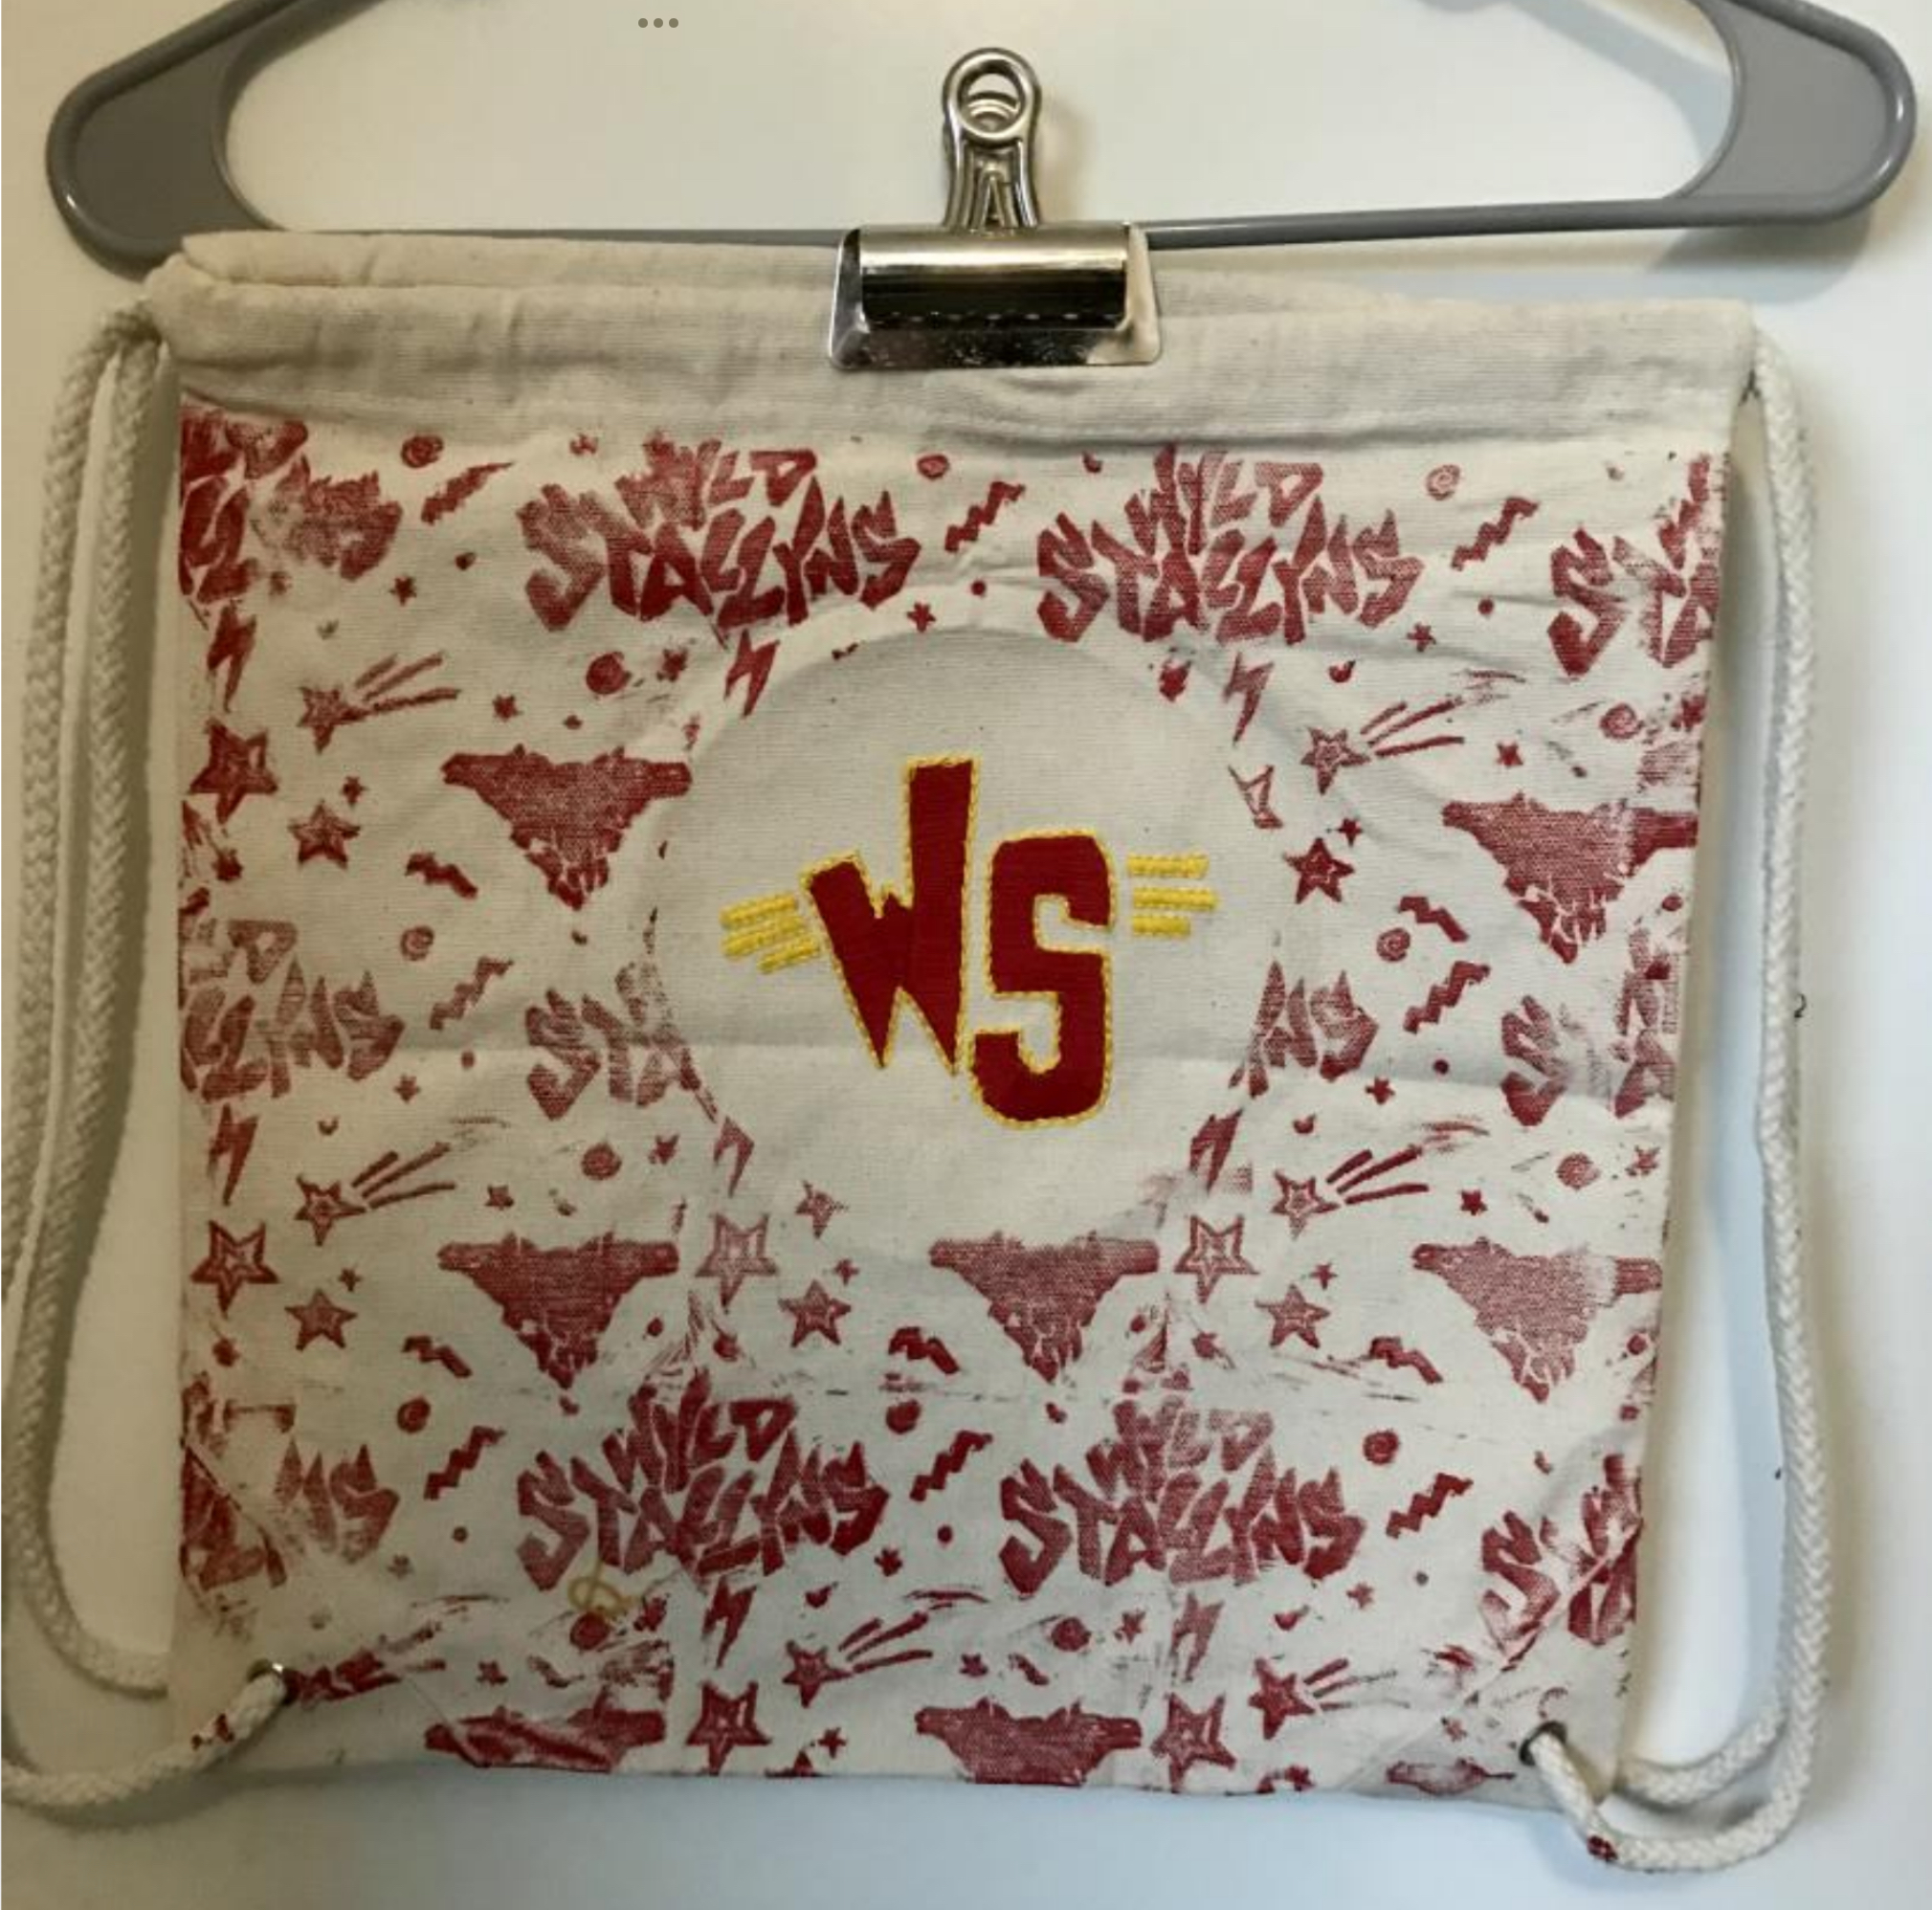
It's great! The print itself wasn't perfect -- there are areas where the ink wasn't thick enough, and areas where it was too thick, but I think it kind of works! It gives the bag the kind of handmade feel that a lot of the Wyld Stallyns logos and designs we see in the first two movies have, like something Bill and Ted made in their garage. What's not to love?!